
 |
News |  |
Tutorials | |
Projects | |
Reviews | |
Authors | |
Contact | |
Search | |
Links |  |
|
Admin | |

Quick Woodgrain Effect : Board Yet? =)
1. Create a new image. I'm using a 150x150px image, but any size will work.
2. Select a medium brown (I'm suing R140 G98 B57) and fill the image (Alt+Backspace).
3. Now go to Filter - Texture - Grain. Set the contrast to 50 and use "Contrasty" for the type.
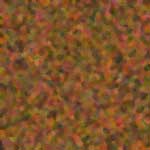
4. Again, go to Filter - Texture - Grain. Keep the contrast the same, but this time, choose "Horizontal" for the type.
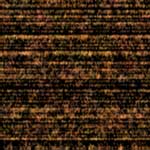
5. Go to Filter - Blur - Motion Blur. Set the angle to 0 and the amount to 20.
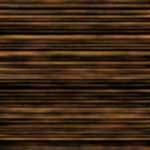
6. Go to Image - Adjust - Brightness/Contrast. Set the Brightness to +50 and the Contrast to -25.
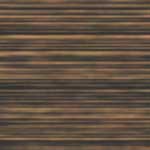
7. Go to Image - Adjust - Hue/Saturation and set the saturation to +40.
8. Hit Ctrl+L to bring up the levels dialog and set the input levels to 18, 100, 255.
9. Almost done, we just need to add a coupel knots in our wood. Use the circular marquee tool to select an oval wherever you want a knot to be.
10. Now go to Filter - Distort - Twirl and use an amount of around 130, slightly higher, or slightly lower, depending on the look you want.
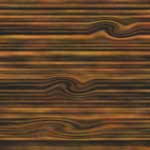
There you have it, (reasonably) realistic woodgrain. It still looks somewhat computer generated, but... well, it is.
- Kelli
Author: Kelli
Last edited on: 6th Dec, 6:55 am
Please
rate this article.

tutorial Pages
